
Natalie Burnside, The Cobb Group brokered by eXp RealtyPhone: (843) 295-1178
Email: [email protected]
Email: [email protected]
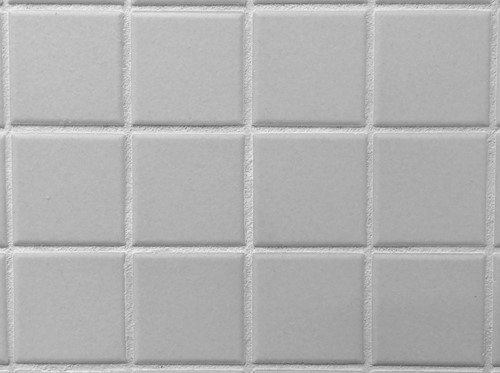
You love your tiles. But they don't seem to do your bathroom justice anymore. Ask yourself, is it the tiles themselves, or what's in between that makes you cringe? Is the grout cracked, faded, yellowish or gray?
Breathe new life into a dirty-looking bathroom tile floor, kitchen backsplash or tile shower by simply re-grouting the tiles and polishing them. Here's how to do it.
A rotary tool or reciprocating saw is faster. But you'll have to be extra careful not to damage a tile. And if you don't have a rotary tool, you'll need to buy or borrow. For these reasons, generally, you'll only want to go to this option if you have a larger space to re-grout like a master bathroom.
On the other hand, removing grout manually can be tedious and slow at times. *Pro tip* For smaller jobs, start with a manual tool. You can always switch to a power tool if you find you don't have the patience.
Start by putting on your safety glasses and ear protection if using a power tool. Whether using a manual tool or electric, slowly guide your instrument through the in-between, cutting out the grout. *Pro tip* Start in a less seen area of the room like behind the door or toilet. That way, if you do make a mistake (break a tile) when learning how to use the tool, it's less of a deal-breaker, and you won't feel you must replace the tile.

Originally from the midwest, Natalie and her husband Brian spent many years following his career but knew they were forever home when they made it to the Lowcountry. During vacations on Kiawah Island, they would dream of retiring to the South Carolina coast. When an opportunity presented itself to move to Bluffton much earlier than they envisioned, it was a “no brainer” and has proven to be one of their family’s best decisions. The two things Natalie loves most about the area are the community’s welcoming attitude and the always changing, but consistently breathtaking, views from the Lowcountry bridges. “It seems that everyone you meet in Bluffton and Hilton Head loves their community and genuinely wants you to fall in love with it, too…whether it’s for a week of vacation or to plant your own long-time roots.”